Field Notes on Daily Life: Weekend Omelettes
Weekend mornings, Julia Child, and my one-egg omelette recipe
Ordinary life is full of small wonders; you just need to pay attention.
Weekend Mornings
Aren’t weekend mornings the best? These days, I usually start mine early, with coffee, my journal or a book, and a little solitude. By the time my whole family is up, an hour or two later, I’m getting hungry.
When my kids were younger, we had a habit of making pancakes, waffles, french toast, or crêpes most weekends. We still do sometimes, but not every weekend anymore. My husband and I prefer savory breakfasts over sweet ones, and the kids aren’t as devoted to maple syrup as they used to be.
Nowadays, we are more likely to make some type of eggs for breakfast. Fried eggs, egg sandwiches, avocado toast with eggs, huevos rancheros, breakfast burritos or tacos, scrambled eggs, or omelettes.
[And these are just some of the breakfast egg options. Having used them for custards and beat them into stiff peaks, I’m convinced that eggs are nothing short of miraculous!]
My husband is the go-to scrambled egg maker in the house, although my oldest daughter has recently started making them too. I’m not sure why, but his scrambled eggs are better than mine, even though I think I use pretty much the same technique as him. I can’t explain it, but it’s true.
Omelettes, on the other hand… those are my domain. I’m the only one in the house who can make them right. I have mastered the art of the simple omelette.
Thank you, Julia Child
I owe my omelette-making skills to the grandmother of French cooking in America, Julia Child. Back in my late 20s and early 30s, I was kind of obsessed with her. I lived in Cambridge, Massachusetts, where she had her famous kitchen. People would tell stories of running into her at the grocery store. She was alive until 2004, at which point I had been in Cambridge for several years. I dreamed of running into her someday myself, but I never did.
I read her biography, Appetite for Life. I watched Meryl Streep portray her in the film Julie & Julia. I admired her courage, her zest for life, her love of food and cooking. Inspired by her, I took a half-day French cooking class when I traveled to Paris in 2005. I bought her classic Mastering the Art of French Cooking cookbooks, both volumes. I tried some of her recipes, and watched some of her old cooking videos.
One of the videos was her French Omelette episode from Season 1 of her PBS cooking show, The French Chef. That episode stuck (the opposite of what your omelette pan should do) with me.
[Side note: If you haven’t watched her original cooking show before, I recommend it. They’re charming in a real and unpolished way, very unlike the highly produced cooking shows of today.]
Lessons from Julia
I must admit, I commit the great sacrilege of not using her exact technique. I don’t use a fork to stir the eggs around in the pan (that just bothers me for the sake of the poor pan) but rather use a swirling motion with the pan. And I tend to cook them flatter than Julia did, almost like a crêpe/very thin flat pancake instead of her big, messy lump of eggs.
But I learned the basic skills for making omelettes from this video, and the ones I make are pretty similar to her rolled, filled omelette technique.
Here are my tips, based on her instructions and my experience making omelettes frequently for years:
Don’t use too many eggs - I usually just use one or two per omelette. These are not the big rubbery omelettes you find at American diners! They’re much better - in my opinion anyway.
Use a good, solid pan that won’t stick.
Cook them with real butter, always.
If you’re using a veggie or meat filling (like spinach, mushrooms, red peppers, onions, ham, etc.) prepare the filling before you start making the omelettes, and have them warm and ready to go (see Step 1 of the recipe).
Timing is essential. Have everything you need close by and ready, because these omelettes cook fast! Get your pan, and then the butter, very hot before you add the eggs. But don’t burn the butter or it won’t taste good - so you have to pay attention. Don’t panic, but do act fast. You may need to practice a few times to get the timing down.
Use the pan. Shake and swirl the eggs, using the pan to distribute the eggs and cook them.
DO NOT, I repeat not, overcook them, or they’ll be rubbery. You want the eggs cooked through, but just barely and still pretty loose. They are delicious this way.
My Weekend Morning Omelette Recipe
Step 1: Make your filling
For cheese omelettes: Grate or crumble the cheese of your choice. Cheddar, feta, parmesan - whatever cheese you like! Plain cheese omelettes are terrific, the simple omelette preferred by both of my children.
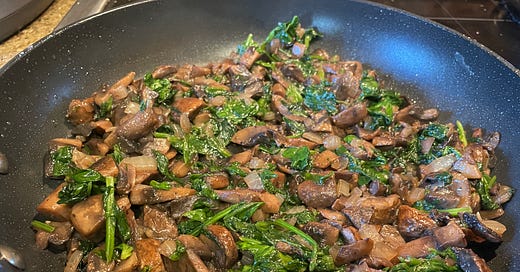
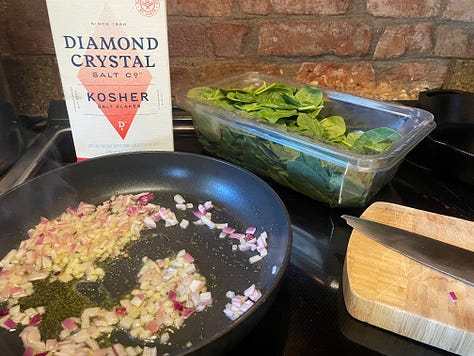
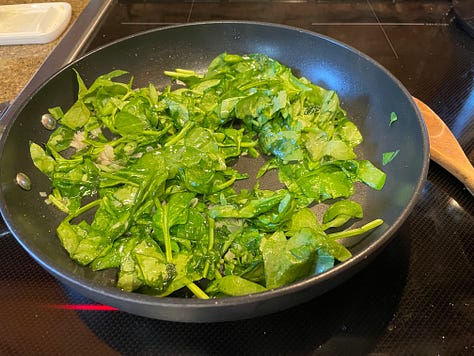
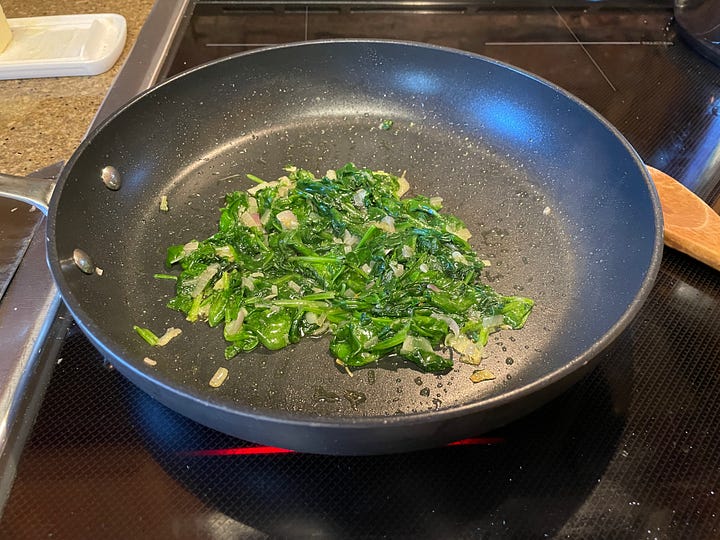
For veggie and/or meat-filled omelettes: If you want to use a veggie or meat filling, you’ll want to chop and/or sauté the ingredients in advance, if necessary. Use olive oil, with a little salt and freshly ground pepper, and minimize dirty dishes by using your omelette pan. Here are just a few examples I’ve enjoyed:
Sautéd spinach and red onion, with crumbled feta cheese
Sautéd mushrooms with fresh thyme and minced shallots
Crispy prosciutto, chopped arugula, and grated parmesan
Be creative, and use whatever you have in the fridge. Make sure your filling ingredients aren’t runny or watery - drain out any liquid if necessary. Taste the filling to make sure it is seasoned well. Once your filling ingredients are ready, set them in a bowl next to the stove, and wipe out your pan.
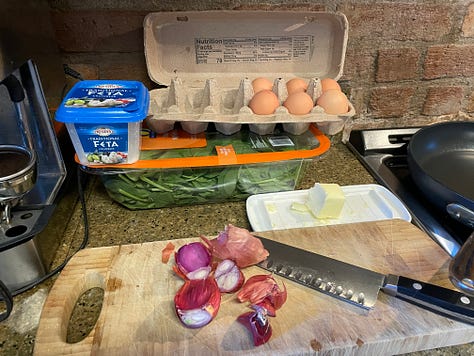

Step 2: Gather your omelette supplies and ingredients.
Everything should be ready to go before you make your first omelette. You’ll need to have handy:
A flat, nonstick pan with a handle.
A bowl and fork for whisking eggs.
Butter and a butter knife.
Eggs - 1 or 2 for each omelette you plan to make
Salt
Filling ingredients (see step 1 above)
A rubber spatula
Step 3: Prepare your pan and the eggs.
Heat your pan on the stove, on medium high.
Meanwhile, as the pan is heating up, crack an egg or two in your bowl, and whisk briskly with a fork. You can whisk in a pinch of salt, unless your filling ingredients are salty, in which case you don’t really need any.
When the pan is starting to get hot, add a hefty pat of butter. The butter will melt, and start to sizzle a little. When the butter is hot, but before it starts to burn, you’re ready to add your eggs.
Step 4: It’s go time!
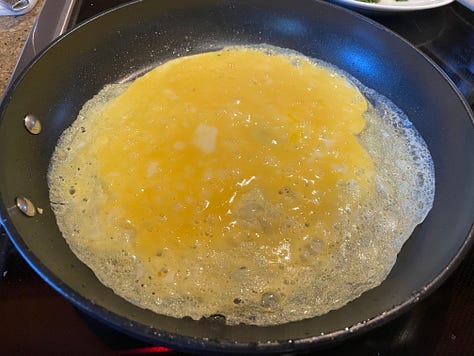
The second the pan and butter are ready, pour the eggs into the pan. Swirl the pan around to distribute the eggs evenly across the pan. The eggs should start to cook and solidify as you do this, which makes them easier to spread around. If this doesn’t happen, your pan isn’t hot enough. (You can still eat it, everything will be fine, but keep practicing.)
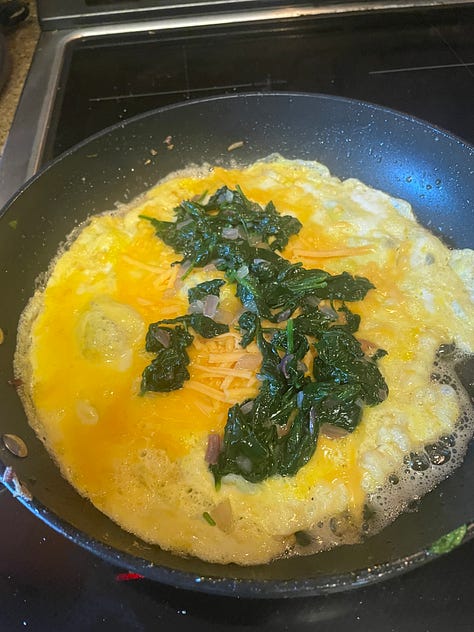
Once the eggs are in a nice, flat circle (like a crêpe) let them solidify a little - just a minute or so. Add your fillings in the middle, and cook for another minute or so, until the eggs are just barely solid. These thin omelettes don’t take long to cook, so pay attention!

Step 5: Fold and move to your plate
As soon as the eggs are solid, either fold or roll them, using your spatula. Slide or flip them onto your plate.
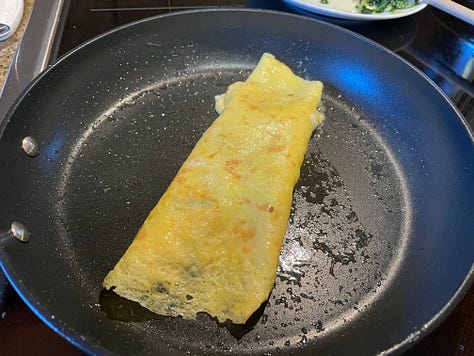
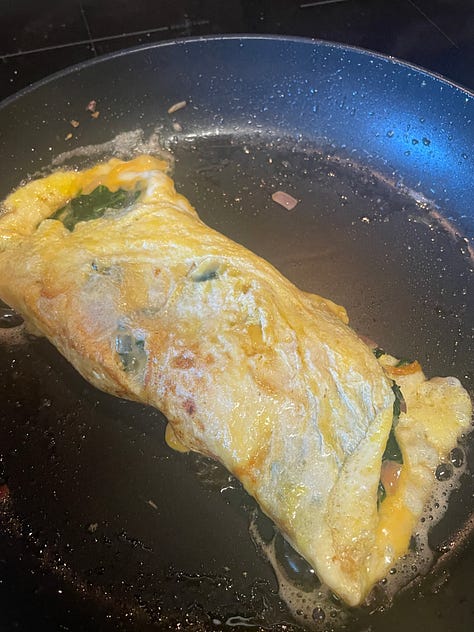

Voilà! Your omelette is ready to eat.
Step 6: Repeat
If you’re cooking more than one omelette, repeat steps 3-5 for each omelette. Make each one separately, and serve them immediately after cooking.
Bon appétit!
I hope you enjoy your next weekend morning. Savor it!
I’m a clinical psychologist, co-host of Psychologists Off the Clock, and author of the books ACT for Burnout and ACT Daily Journal. You can find me online at drdebbiesorensen.com.

